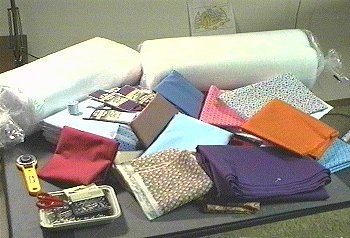
The first step in creating a Star Quilt is to obtain quality fabrics, batting, and other quilting materials. Fabric color, pattern, and texture are very important, and Polly spends a lot of time picking just the right fabrics for the quilt she has in mind.
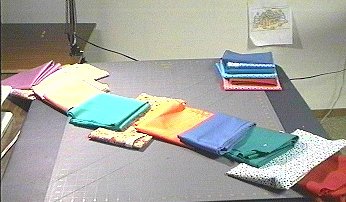
The new fabric is arranged in the color scheme that will be used for the new quilt.
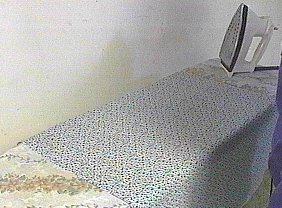
All of the quilt fabrics must be ironed to remove wrinkles before the marking process can begin.
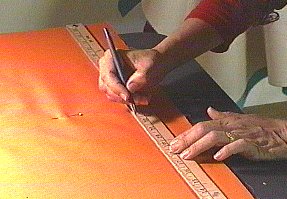
Using a pencil or quilting pen, Polly starts marking where the fabric will need to be cut.
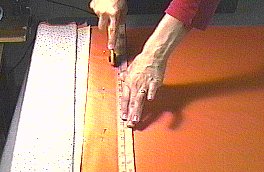
Polly starts cutting, and cutting, and cutting...
Soon, cut strips of fabric are soon all over the place!
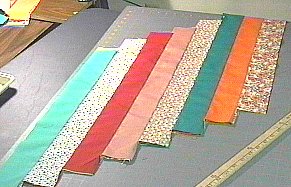
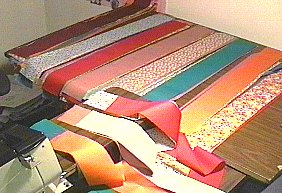
The lengths of fabrics are arranged in the proper color sequence and laid in staggered
rows. They are then pinned and sewn together. This picture shows the strips already
sewn together.
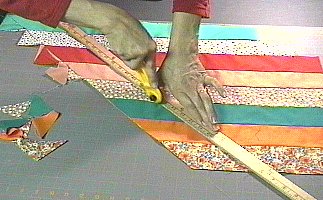
Polly uses a cutting board and a rotary cutter so that she can cut very accurate
"strips of diamonds". Doing this avoids cutting single diamonds, saving
time and produces a quilt with less "bunching" or "bubbling".
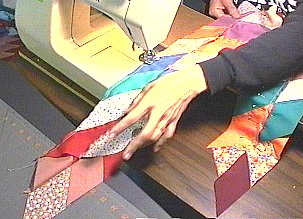
All of the diamonds are meticulously sewn together into long colorful strips, which are then assembled and sewn together to create the "star".
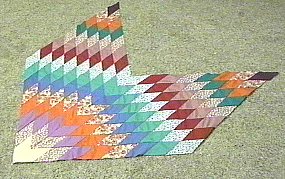
Two points of the Star Quilt are completed!
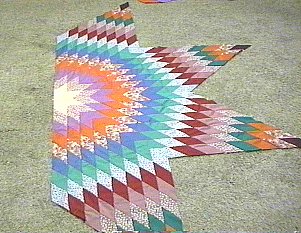
Halfway there! Four points of the star are completed.
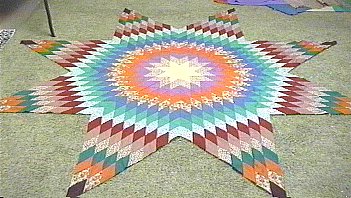
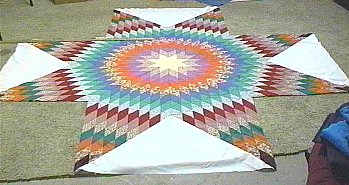
After many hours of sewing, the star of the Star Quilt is done!
The star will need some company, so Polly starts cutting the "fill-in" for the Star Quilt.
The fill-in is added in sections. Here four sections have been sewn in, four more squares are left to do.
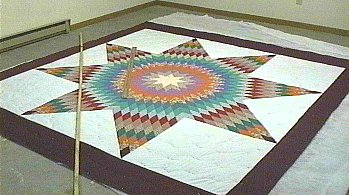
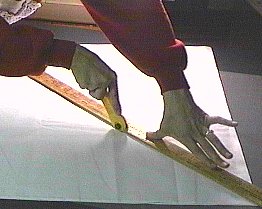
After the fill-in and the border (dark red fabric) has been sewn on, Polly lays a fabric "backing", followed by a sheet of fluffy batting, and then the star top. She will stretch these three layers and then hold them together with pins (pin-basting). Polly will then use either a ruler or a long squared rod to mark the "quilting lines".
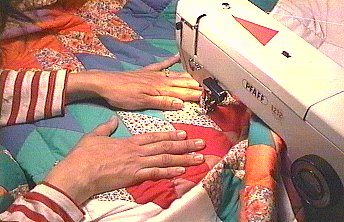
Polly now sews the three layers together, following the faint quilting lines she penciled in earlier.
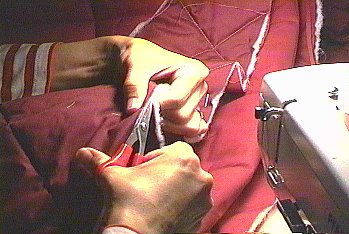
Now that the quilting is done, Polly trims excess material from the edges in
preparation for the "binding".

Using "bias tape" Polly binds the edges of the star quilt. Sometimes Polly
uses a different color for the edges.
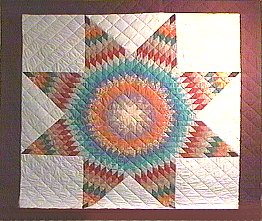
A Star is born! A finished King Size Quilt in all it's splendor.